How to Upload a Video to Twitch in 4 Simple Steps
Are you looking for an easy way to share your gaming highlights and get instant feedback from your Twitch followers? With the simple steps outlined below, you'll be able to upload videos to Twitch in no time! It doesn't matter if you're an experienced streamer or new to the world of Twitch – once you learn how to upload video content, you'll be a pro. Plus, streaming videos on Twitch has many benefits. Not only do you get to capture and share amazing gaming moments with your fans, but it also helps build your stream's reputation and following. So what are you waiting for? Read on for a step-by-step guide on how to upload a video to Twitch in 4 simple steps.
Install the Twitch Creator Dashboard
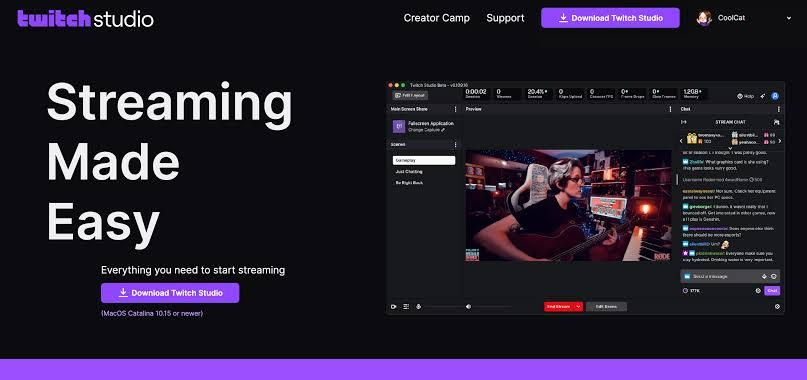
Uploading a video to Twitch is easy - but first things first, you need to install the Twitch Creator Dashboard. This is a program that allows you to manage your broadcasts and upload videos directly from your computer. To get started, simply visit the Twitch Creator Dashboard page on the Twitch website and follow the instructions for downloading and installing. Once you have installed the program, you will be able to access all of its features such as scheduling broadcast times, customizing your profile, and more. Plus, after installation, you can start uploading your videos right away and streaming them on Twitch. That's it! With just a few clicks, you'll be ready to go live!
Prepare Your Video for Uploading
Before you can upload your video to Twitch, it's important to make sure that the video is properly prepared for the platform. This includes making sure that the size and format of your video are appropriate, as well as ensuring that the title and description are complete.
First and foremost, you'll need to ensure that the size of your video is within Twitch's accepted limits—the maximum file size is 5 GB. Secondly, check that the format of your file is compatible with Twitch—Twitch accepts .mp4, .mov, .avi, and .wmv formats. You'll also want to ensure that your video has a good quality resolution—Twitch recommends a minimum resolution of 720p for best viewing.
Finally, make sure that you provide an eye-catching title and detailed description for your video. The title should be engaging and give viewers an idea of what they can expect from your upload. Make sure to include any relevant keywords in the title so viewers can easily find it in search results. Additionally, include a thorough description detailing what viewers will see in your video—including any gameplay highlights or key details about yourself or the game you're playing.
Upload Your Video to Twitch

The third step is to upload your video to Twitch. You'll need to sign into your account and navigate to the Upload section, which is found in your Creator Dashboard. In here you'll be able to select the video file from your computer and choose where you'd like it to be published.
You can also personalize your video by adding a custom thumbnail image as well as a title and description. Make sure that you include relevant keywords in both the title and description, as these will help people find your video more easily.
Once you’ve finished customizing the details for your video, click Publish and it should become available on Twitch shortly after. It can take some time for longer videos due to the time it takes for Twitch to process them, so don't be alarmed if it takes a while! You can monitor its progress by checking the Uploads page periodically.
Promote Your Video on Twitch
You've created a great video, and it's ready to go—so now it's time to promote it! Twitch provides a few ways to do this:
Use Twitch Tags
Twitch tags are keywords which you can add to your video that makes it easier for viewers to find you. Using relevant tags related to your game or content ensures that your video reaches its intended audience. Tags also help categorize content so that viewers searching for different types of videos can find what they’re looking for quickly and easily.
Share Links on Social Media
It's always a good idea to use social media platforms like Facebook, Twitter and Instagram to announce the upload of your twitch video. Not only will this help create more awareness about your content, but it also encourages more people to check out your upload in the first place. Just make sure the links used in the promotion are direct links from twitch.tv so viewers can easily access the video without any hassle.
Utilize Twitch Communities
Twitch has several communities available for streamers, which can be utilized to promote your content more effectively. Joining communities specific for gaming & streaming is one of the best ways to get your videos seen by more people within that particular niche or genre. This method gives you easy access to like-minded individuals who may be interested in checking out what you have created!
Conclusion
With just four steps, you’ve now got the know-how to upload a video to Twitch. Have fun with it, and let your creative juices flow! Whether you’re streaming your gaming sessions or creating special content for your viewers, your unique flair and creative touch can take your Twitch channel to the next level. No matter your goals for your Twitch channel, the possibilities are endless. Take the plunge and use these helpful steps to get you started. By now, you’ve got the knowledge to start streaming, creating, and sharing inspiring and entertaining content with the world. Good luck!
